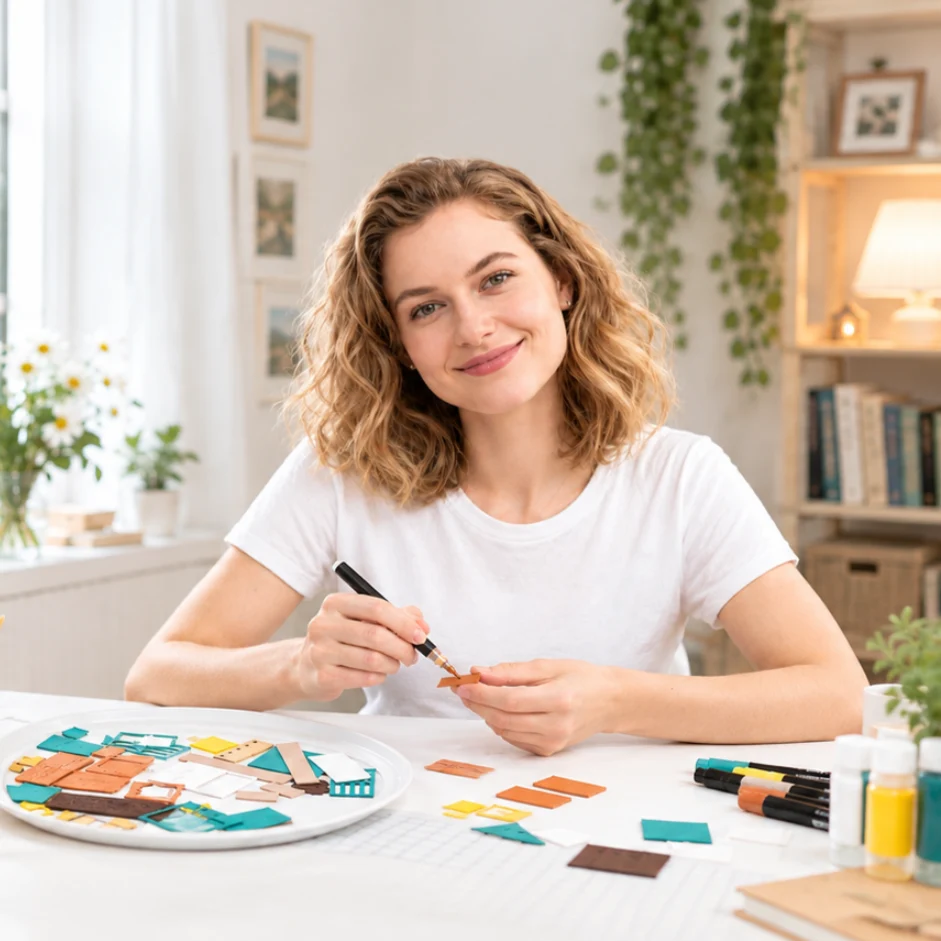
How to Paint a Book Nook Kit: Easy DIY Customization Tips
Simple ways to paint, customize, and transform a book nook into a miniature world that feels uniquely yours.

Building a book nook is a collection of tiny decisions.
A miniature wall needs to meet a floor. A delicate paper detail needs to sit neatly against a wooden panel. A tiny sign, flower, gear, or light wire needs to stay exactly where you placed it.
And behind almost every successful miniature build is one simple tool that deserves more attention than it usually gets:
glue.
The right glue can make a book nook feel clean, sturdy, and satisfying to build. The wrong glue—or simply using too much of it—can leave visible residue, warp delicate materials, or even freeze moving mechanisms in place.
So, what is the best glue for book nooks?
The honest answer is: there is no single glue that is perfect for every miniature piece. The best choice depends on the material, the size of the part, the required adjustment time, and whether the component needs to remain movable.
This guide breaks down the most practical glue types for DIY book nooks, explains where each works best, and shares precise techniques for a cleaner, smoother build.
A book nook combines many different materials in a very compact space:
These materials do not all behave the same way.

A thick adhesive that works beautifully for a structural wooden joint might be too messy for a fine decorative detail.
Super glue sets quickly, but its fumes can cause white haze or blooming on clear acrylic and other transparent plastics. It also leaves very little time for alignment adjustments.
Before applying adhesive, always ask yourself:
What material am I bonding? Does this part need to move? Is it a clear piece where appearance matters?
Once you begin thinking this way, choosing the right glue becomes much easier.
Thick craft adhesive, commonly known as tacky glue, is one of the most versatile primary adhesives for miniature builds.
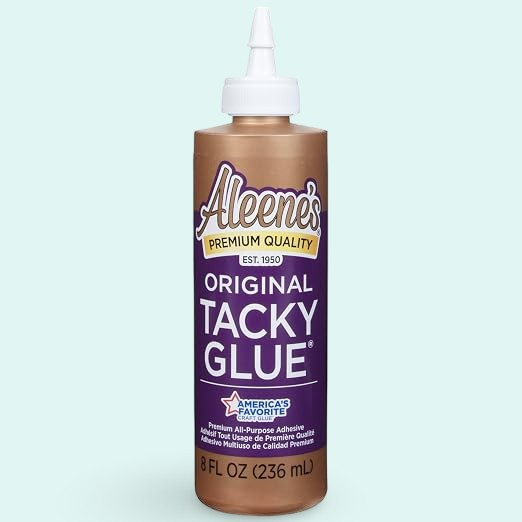
It is a practical choice for many everyday book nook assembly tasks.
Best for:
Key advantages:
For many creators, Tacky Glue becomes the main workhorse adhesive on the crafting table.
💡 Pro Tip: Never squeeze glue directly from a large bottle onto a tiny part. Squeeze a small amount onto scrap paper or a disposable surface, then use a toothpick or fine applicator to apply only the amount you need.
For larger wooden surfaces, a thin, even layer is generally more useful than a large amount of adhesive.
B-7000 is a popular choice among many crafters and miniature builders because it creates a clear, slightly flexible bond and works well for detailed applications.
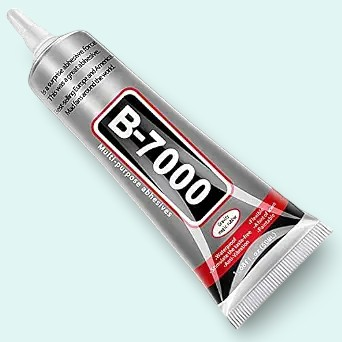
Best for:
Its flexible bond can be helpful when a part needs a little tolerance rather than an extremely rigid connection.
B-7000 also gives you more time to position a small part than a fast-setting super glue.
💡 Pro Tip: For very small parts, squeeze a tiny amount onto scrap paper first. Then use a toothpick or fine applicator to transfer only a small amount to the actual contact point.
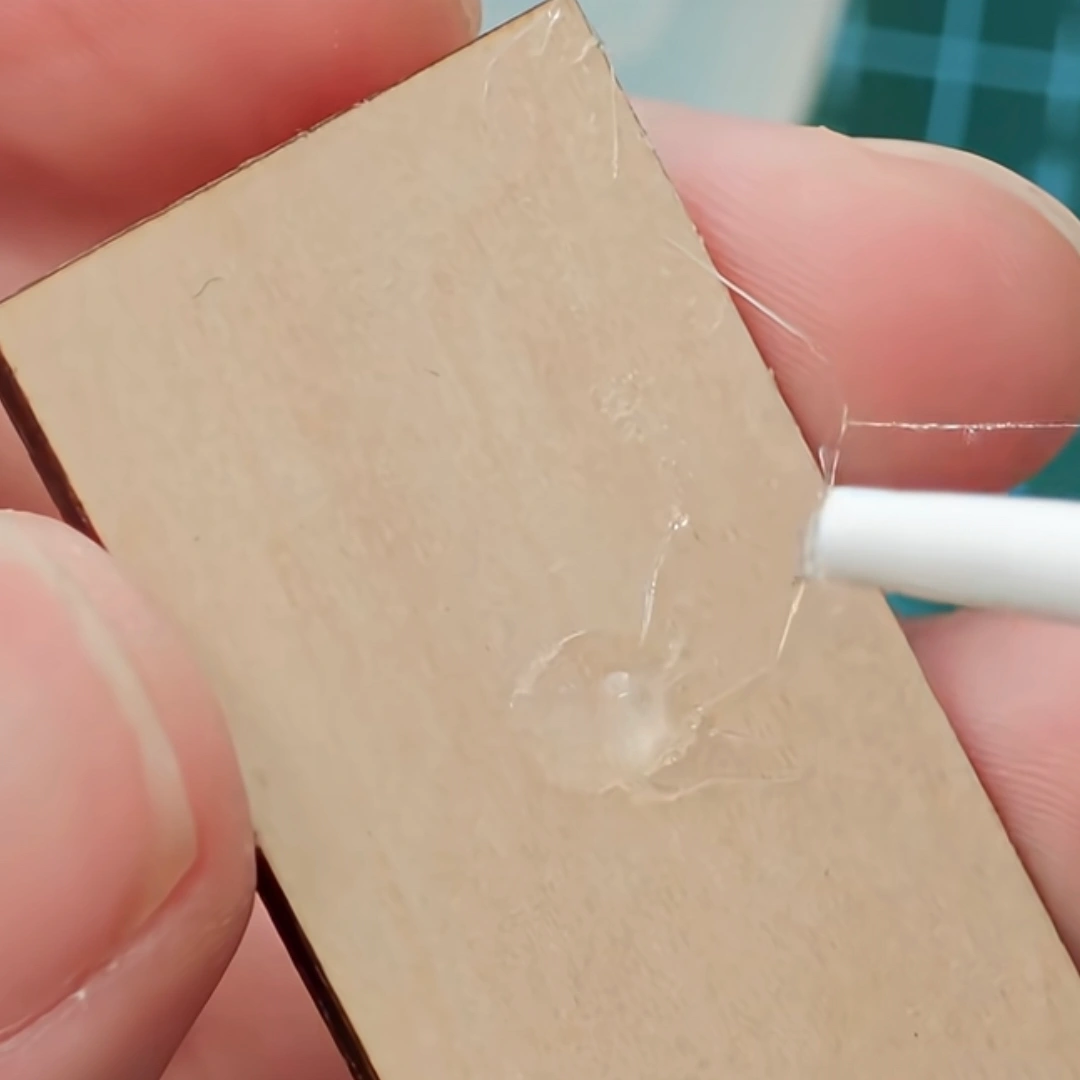
B-7000 can sometimes create thin glue strings during application.
Do not pull the string across the miniature surface.
Instead:
Removing glue strings while the adhesive is still wet can help protect:
Super glue, also known as cyanoacrylate or CA glue, is valued for one main reason:
rapid bonding speed.
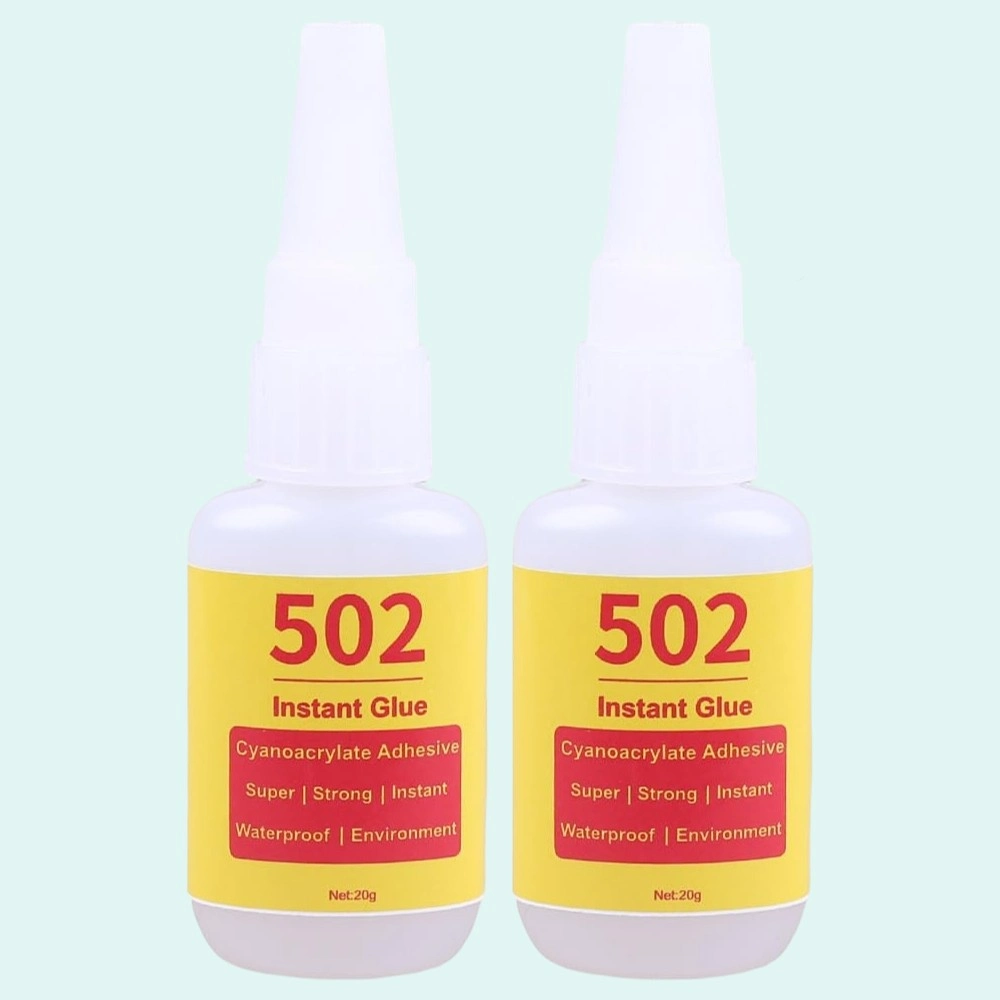
It can be useful for:
However, its speed is also its biggest limitation.
⚠️ Important precautions:
For these reasons, Super Glue / CA Glue is best treated as a specialist tool rather than the main adhesive for an entire book nook.
If you are starting your first book nook, you do not need a shelf full of adhesives.
This simple trio covers most common miniature-building situations:
For wooden structures, paper, fabric, and general assembly.
For small embellishments, mixed materials, plastic, resin, metal, and suitable clear components.
For rapid repairs and difficult small joints that need fast bonding.
The goal is not to collect every type of glue.
It is to have the right adhesive for the specific job in front of you.
One of the most common mistakes in miniature crafting is using too much glue.
Book nook assembly usually relies on a thin, effective bonding layer.
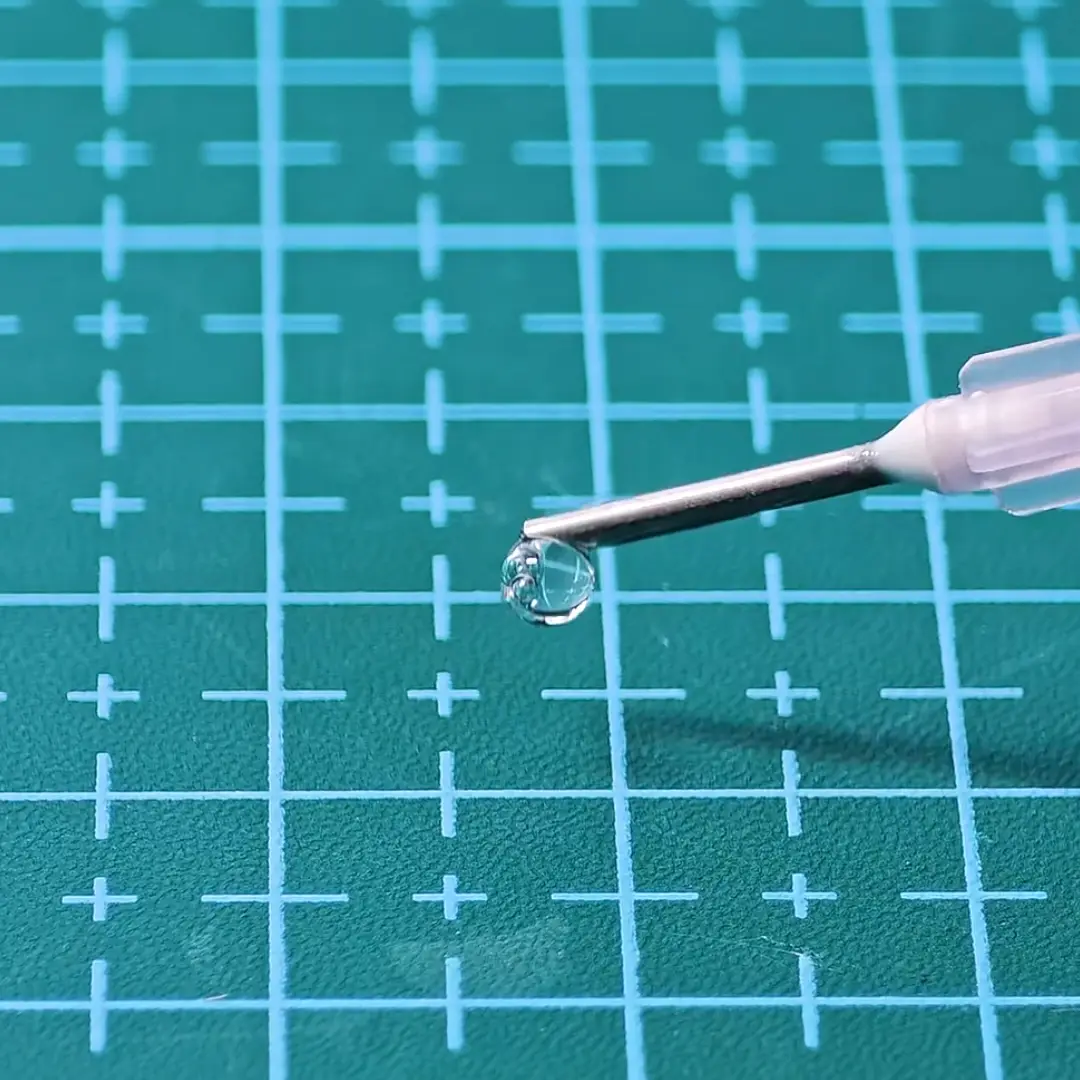
Excess adhesive can:
A small dot or thin line is often enough.
The goal is not to cover the entire surface with glue.
The goal is to apply adhesive exactly where it is needed.
Test-assemble your parts without glue first.
This is called dry fitting.

Before applying adhesive, check:
A few seconds of testing can prevent hours of tedious repair work.
When in doubt:
Dry fit first. Glue second.
Many book nooks feature:
These components need space to move freely.
Before applying glue nearby:
Even a small amount of stray adhesive can cause friction, slow movement, or complete mechanical failure.
For very small components, precise glue application can make a major difference.

A practical setup is to transfer your adhesive into a 30 ml or 50 ml precision squeeze bottle fitted with a replaceable needle tip.
Recommended needle sizes include:
These sizes offer a practical balance between precise application and reliable glue flow. Extremely fine tips may seem more precise, but they can clog more easily.
Fill the bottle as fully as practical.
A fuller bottle contains less air, while the weight of the glue helps it flow more consistently as you gently squeeze the bottle.
After using it, place the bottle flat rather than leaving it upright. This can help the glue remain ready to flow the next time you use it, without needing to wait for the adhesive to travel down through the nozzle.
Seal the needle tip when not in use.
Use a silicone stopper to seal the tip and help prevent the adhesive from drying inside the needle.
If the needle becomes clogged, use a fine wire.
Carefully insert a thin piece of wire into the opening and gently move it back and forth to help clear dried adhesive.
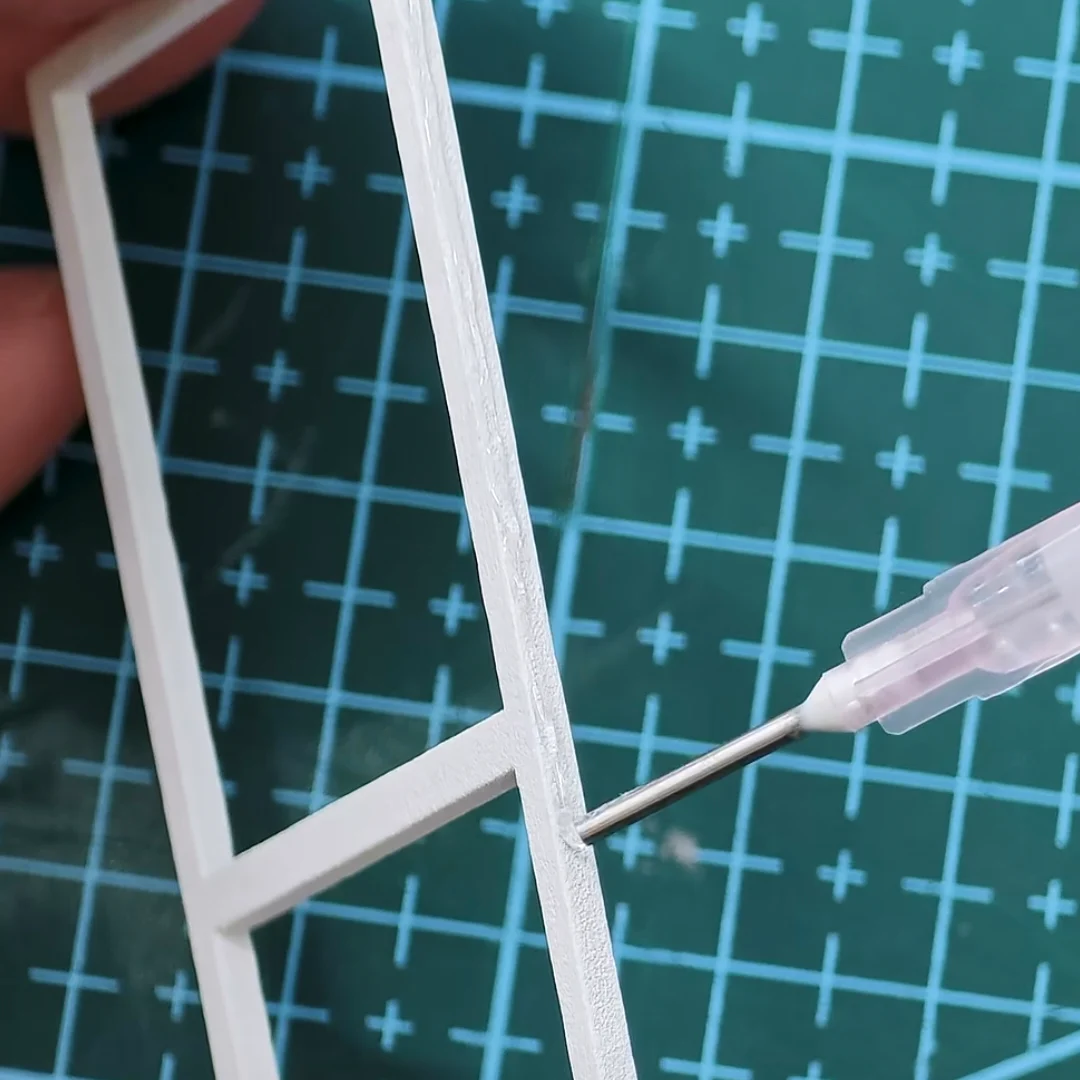
A precision glue bottle is especially useful for:
The goal is not to apply more glue.
The goal is to apply glue exactly where it is needed.
| Glue Type | Best Used For | Main Advantage | Key Precaution |
|---|---|---|---|
| Thick Craft Glue / Tacky Glue | Wood frames, paper, fabric, general assembly | Easy to control and offers adjustment time | May not bond every slick, non-porous plastic surface |
| B-7000 | Clear components, plastic, resin, metal, small details | Flexible, clear, multi-material bonding | Can create glue strings; remove excess carefully |
| Super Glue / CA Glue | Fast repairs and difficult small joints | Extremely fast and strong bonding | Avoid clear parts; little alignment time |
The best adhesive is not necessarily the strongest one.
It is the one you can control confidently for the specific job in front of you.
Drying and curing time depends on several factors:
A surface may feel dry while the inside of the adhesive is still curing.
This is especially important for structural parts.
Before applying additional pressure to:
make sure the adhesive has had enough time to fully cure.
Moving too quickly can cause pieces to shift, joints to weaken, and carefully aligned structures to lose their shape.
Sometimes, the most important tool in miniature crafting is not another accessory.
It is patience.
Building a book nook is about bringing hundreds of tiny elements together.
A wall is aligned.
A delicate detail is positioned.
A light wire is carefully guided.
A miniature object finds its place in a scene.
While glue remains invisible in the finished miniature, how you use it can define the entire building experience.
By choosing the right adhesive for each material, applying only the amount you need, and giving parts enough time to set and cure, you can turn potential frustration into a calmer, more rewarding creative process.
And perhaps that is the quiet joy of miniature crafting:
slowing down enough to give every tiny piece its proper place.
Simple ways to paint, customize, and transform a book nook into a miniature world that feels uniquely yours.
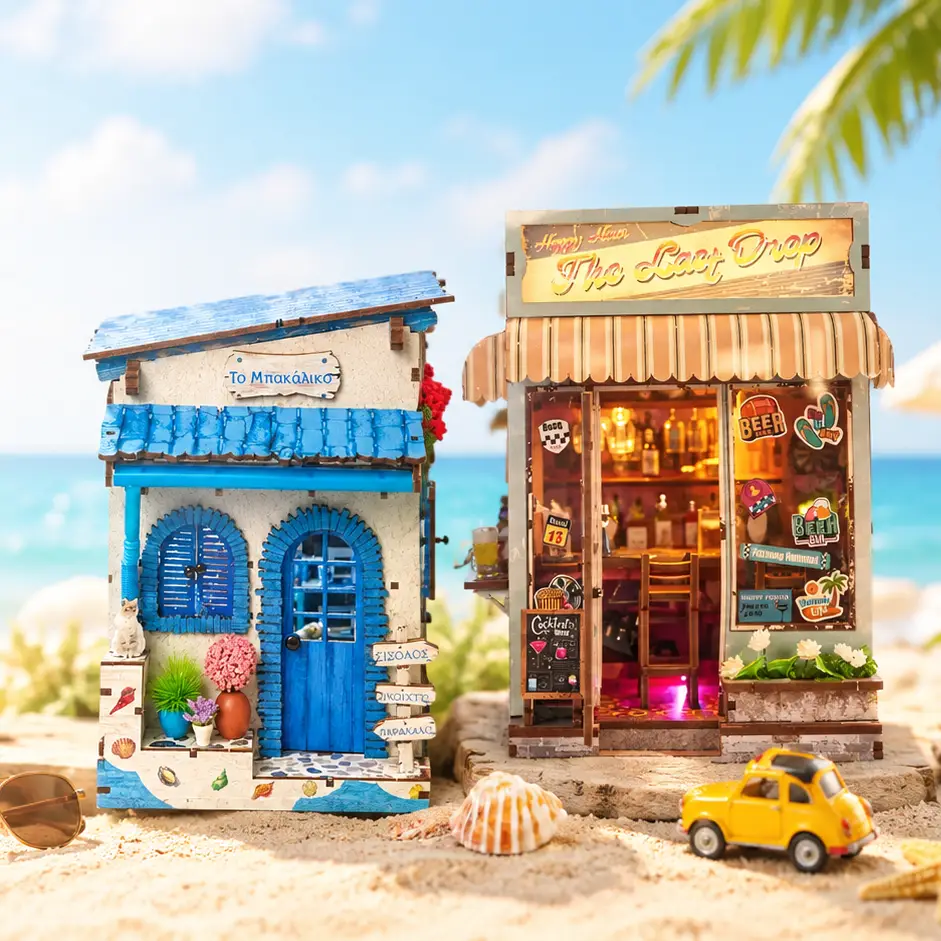
Looking for summer miniature kits? Explore beach Book Nooks, Mediterranean coastal scenes, tropical beach bars, and cozy European taverns for a little summer feeling on your bookshelf.