How to Customize a Book Nook: Transforming the Wisdom Rings Bookstore Into a World of Your Own
Book Nook Customization Ideas — Transform Your Wisdom Rings Bookstore Into a World of Your Own
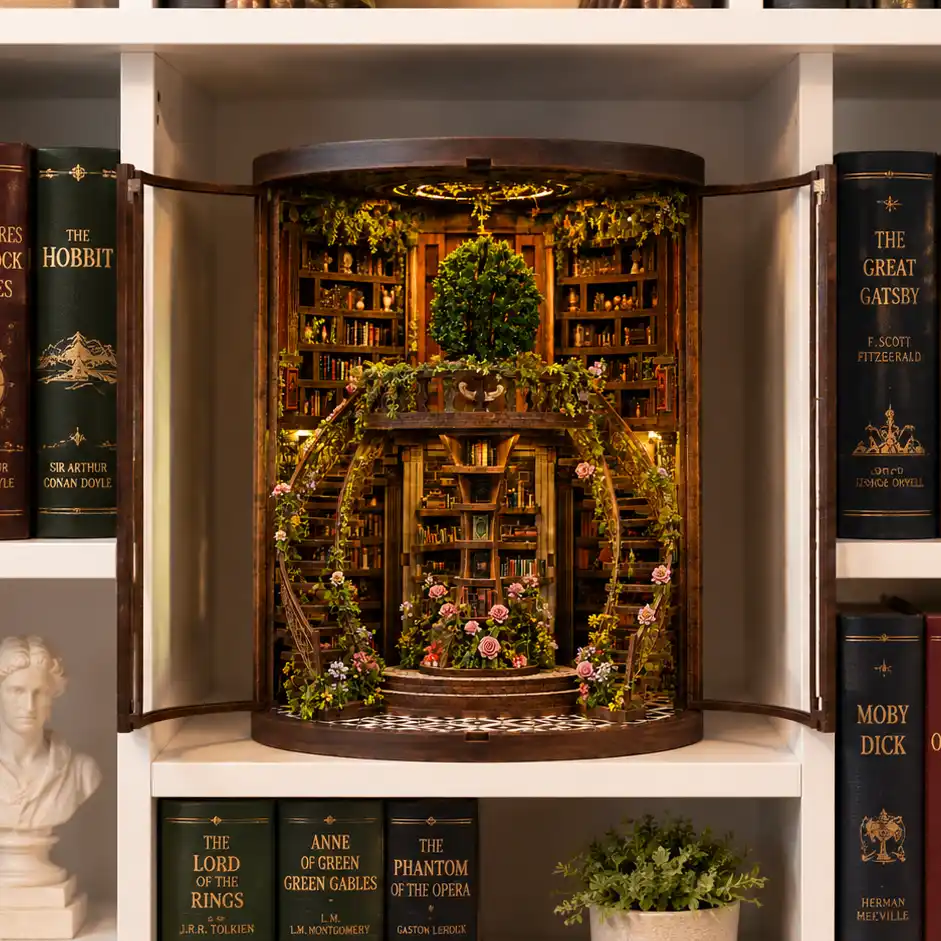
Book lovers know that every shelf tells a story. But what if the story could spill into the shelf itself? That’s exactly what a book nook does—a tiny, magical world tucked between your novels that sparks curiosity and turns your bookshelf into a gallery.

If you’ve ever wondered how to make one yourself, this guide will walk you through the entire process of building your first book nook—from gathering materials to adding the final touches of light and detail. Whether you’re a beginner looking for an easy DIY kit or a seasoned crafter ready to experiment, you’ll find everything you need right here.
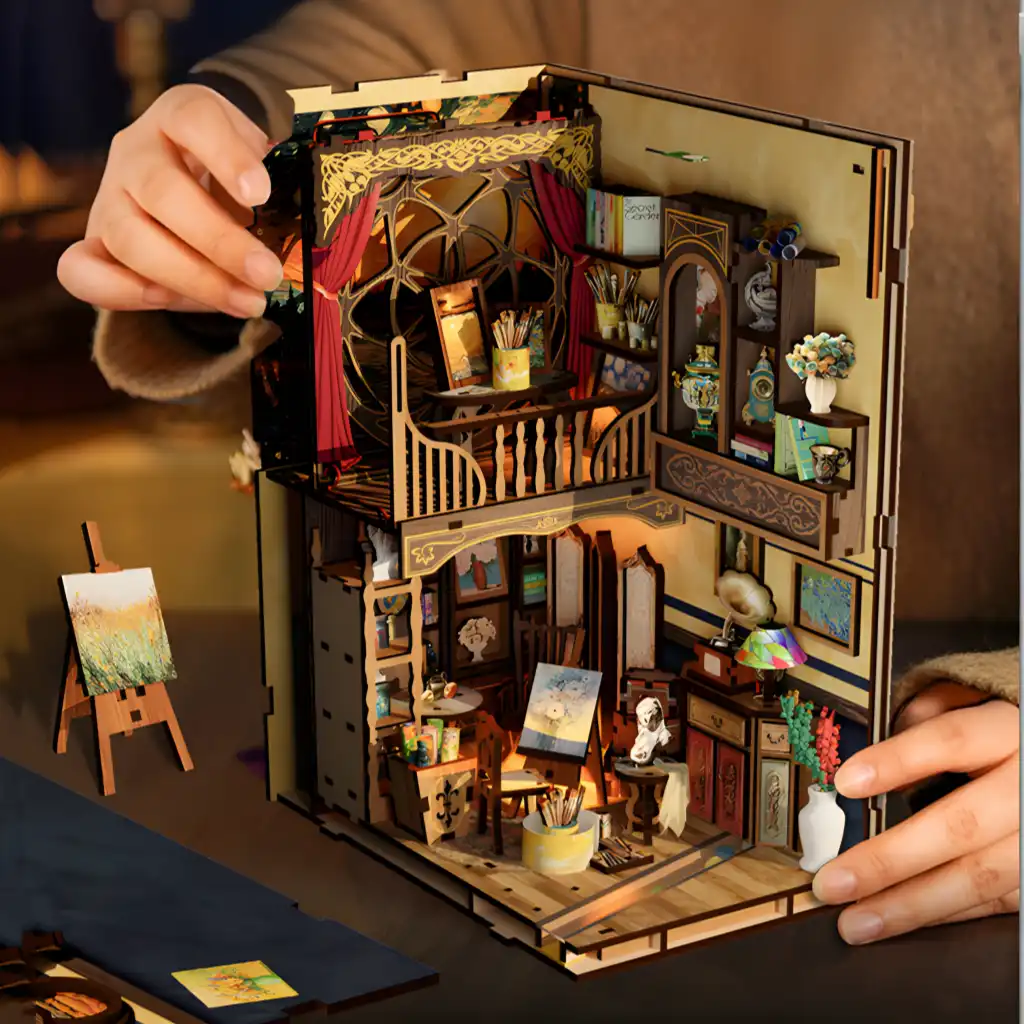
A book nook (also called a bookshelf diorama) is a miniature scene built to fit between books on your shelf. Imagine opening your bookshelf to find:
A mysterious alleyway glowing with lanterns.
A whimsical fairytale castle hidden between classics.
A steampunk inventor’s workshop buzzing with gears.
Book nooks combine art, storytelling, and craft into one delightful project. They are loved by DIY enthusiasts, miniature collectors, and bookworms alike.
👉 Want to see examples? Explore our Book Nooks collection for inspiration.
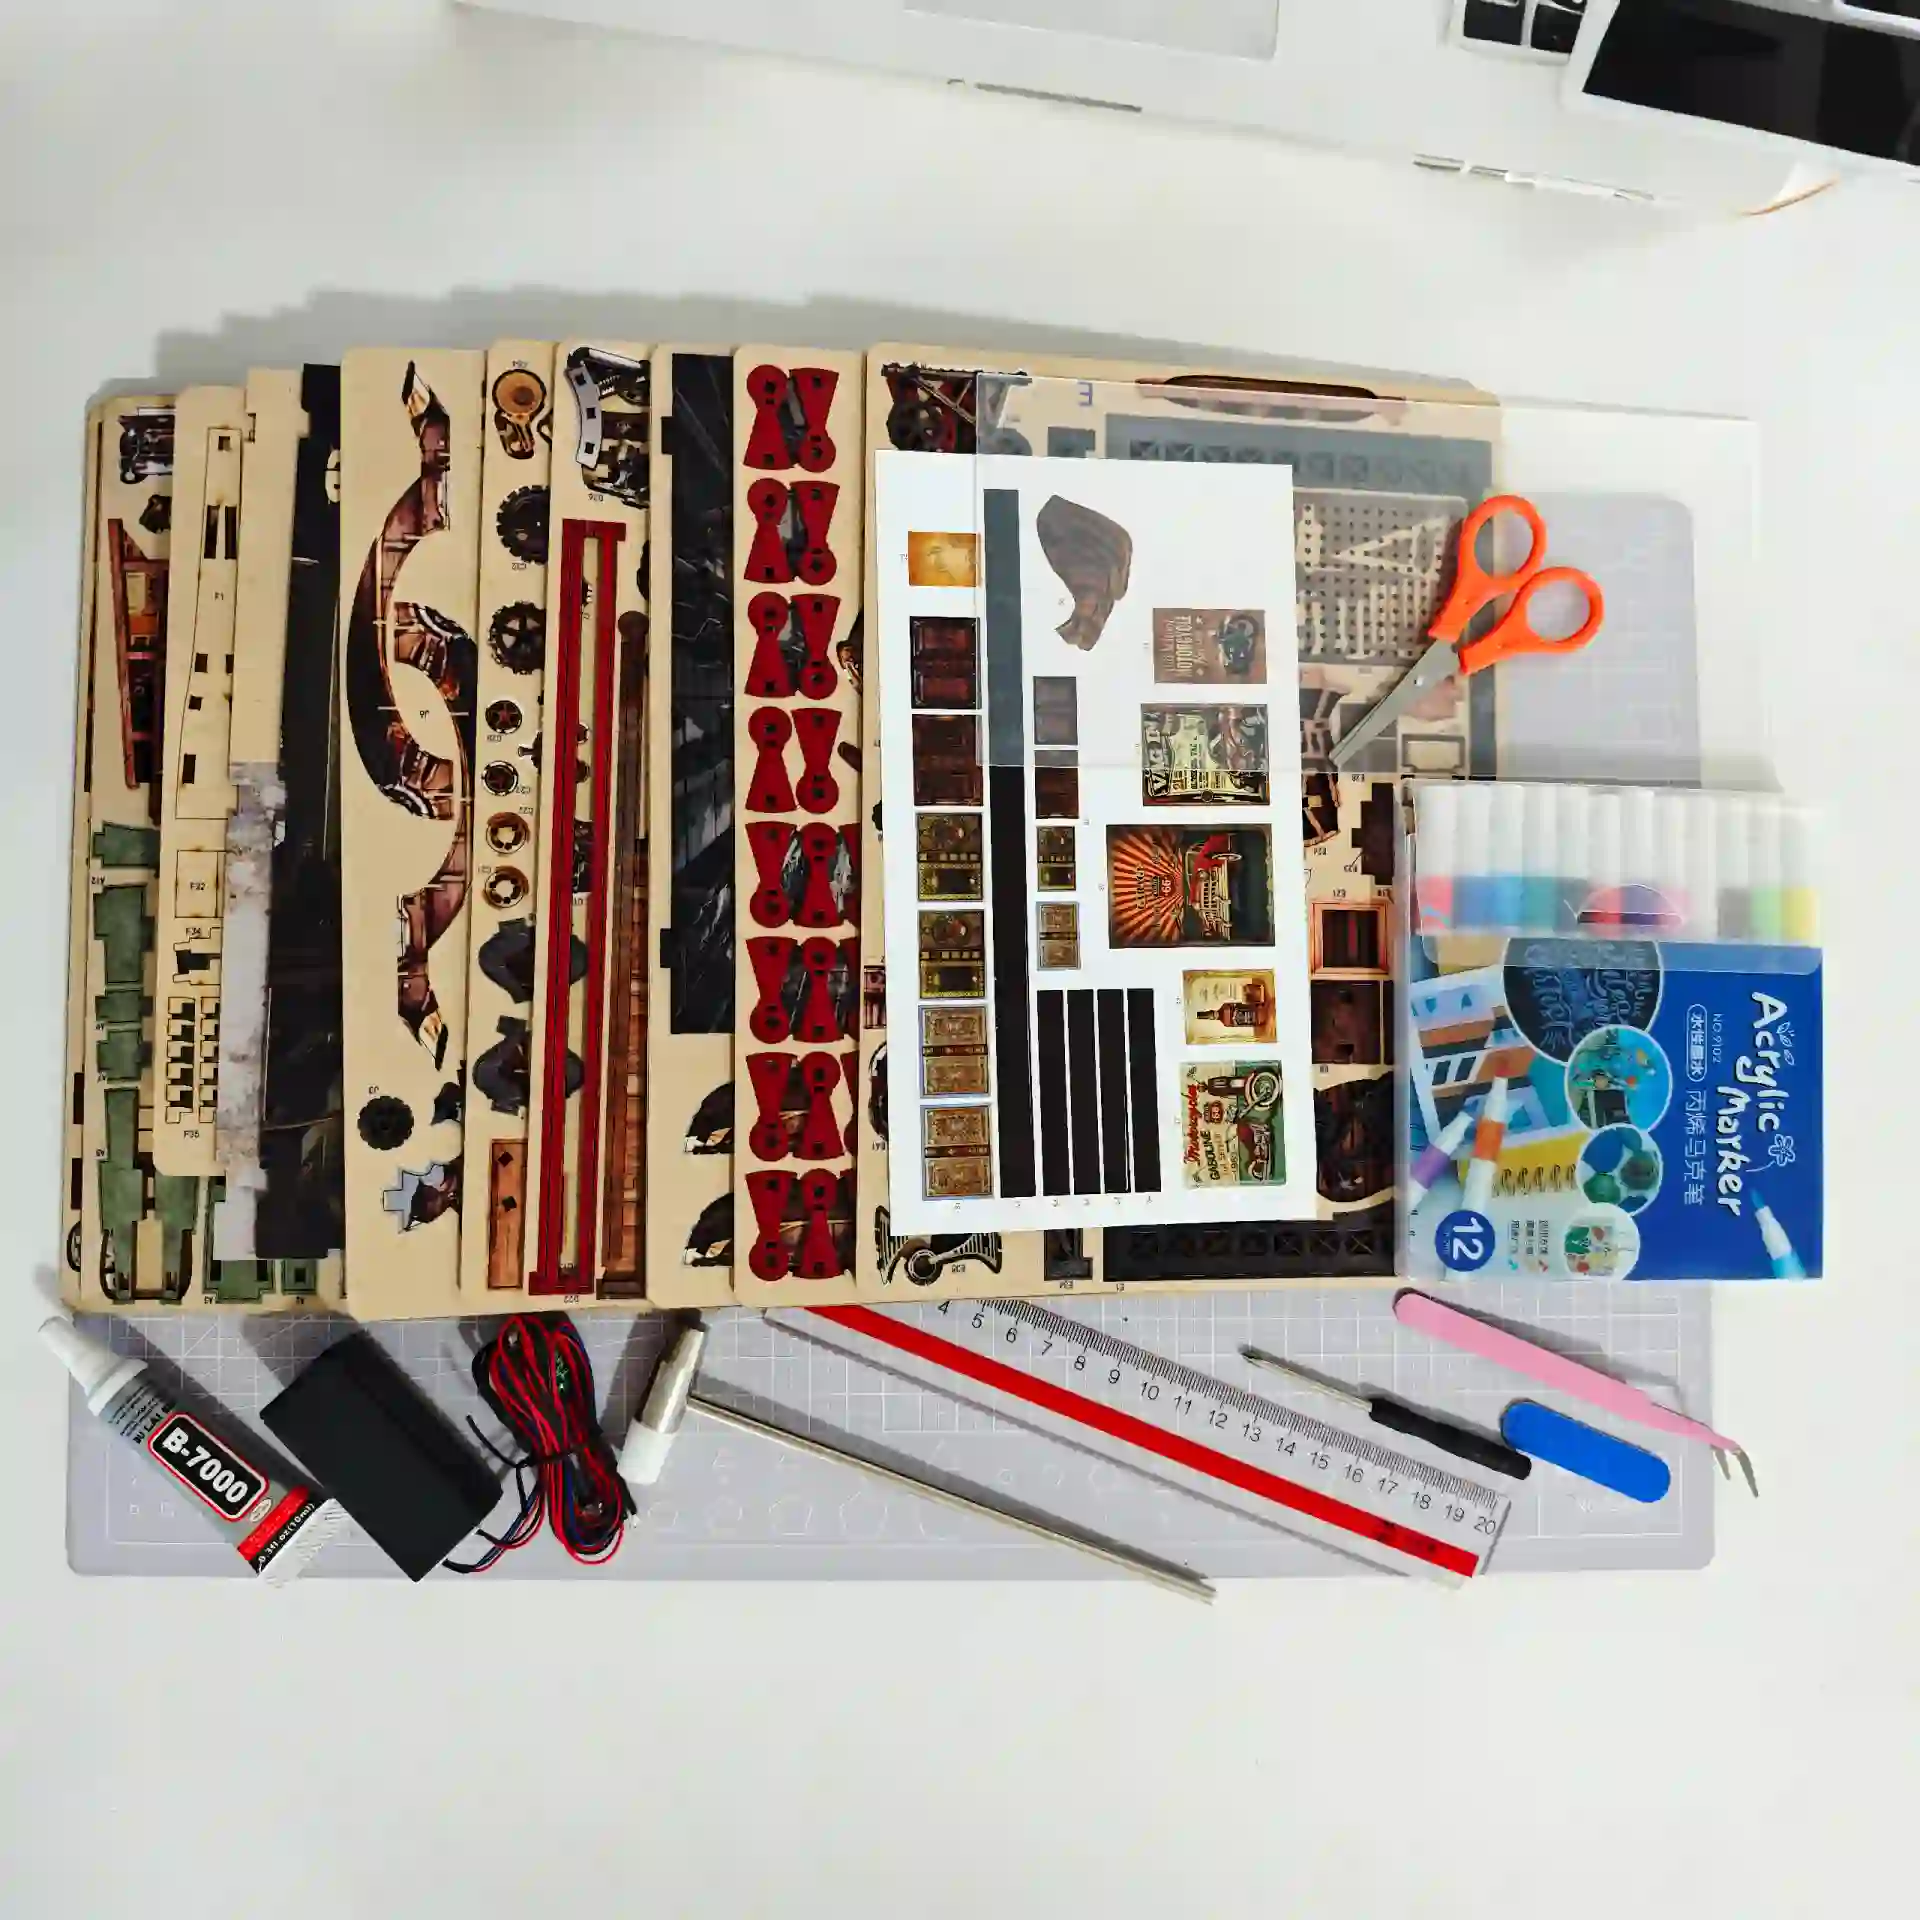
Before diving into your project, make sure you have the right supplies. A book nook can be built from scratch with wood panels and accessories, or you can start with a DIY book nook kit that comes with pre-cut pieces and instructions.

Basic materials:
Wooden panels (for the walls and floor)
Glue (wood glue or tacky glue)
Craft knife or precision cutting tool
Ruler and pencil
Acrylic paint and brushes
Lighting kit (LED strips or fairy lights)
Miniature accessories (furniture, figurines, books, plants, etc.)
Optional but recommended:
Sandpaper (for smoothing edges)
Tweezers (for handling tiny pieces)
Varnish or acrylic spray (for sealing)
💡 Pro tip: If you’re a beginner, consider starting with a DIY book nook kit. It saves time and ensures everything fits together perfectly.
Every book nook starts with an idea. The theme sets the mood, color palette, and style of your miniature world.
Popular book nook themes include:
Fantasy worlds – dragons, castles, enchanted forests.
Classic literature – Sherlock Holmes’ study, Alice in Wonderland, or a medieval library.
Steampunk workshops – gears, pipes, and glowing lamps.
Seasonal settings – Christmas streets, Halloween castles, winter lodges.
Urban alleyways – lantern-lit streets or cozy cafés.
For example:
If you love steampunk, the Uncle Peter’s Warehouse Book Nook is a perfect choice.
If you enjoy festive vibes, the Halloween Castle Book Nook brings spooky charm to your bookshelf.
👉 Tip: Keep your first project simple. You can always level up later with more complex designs.
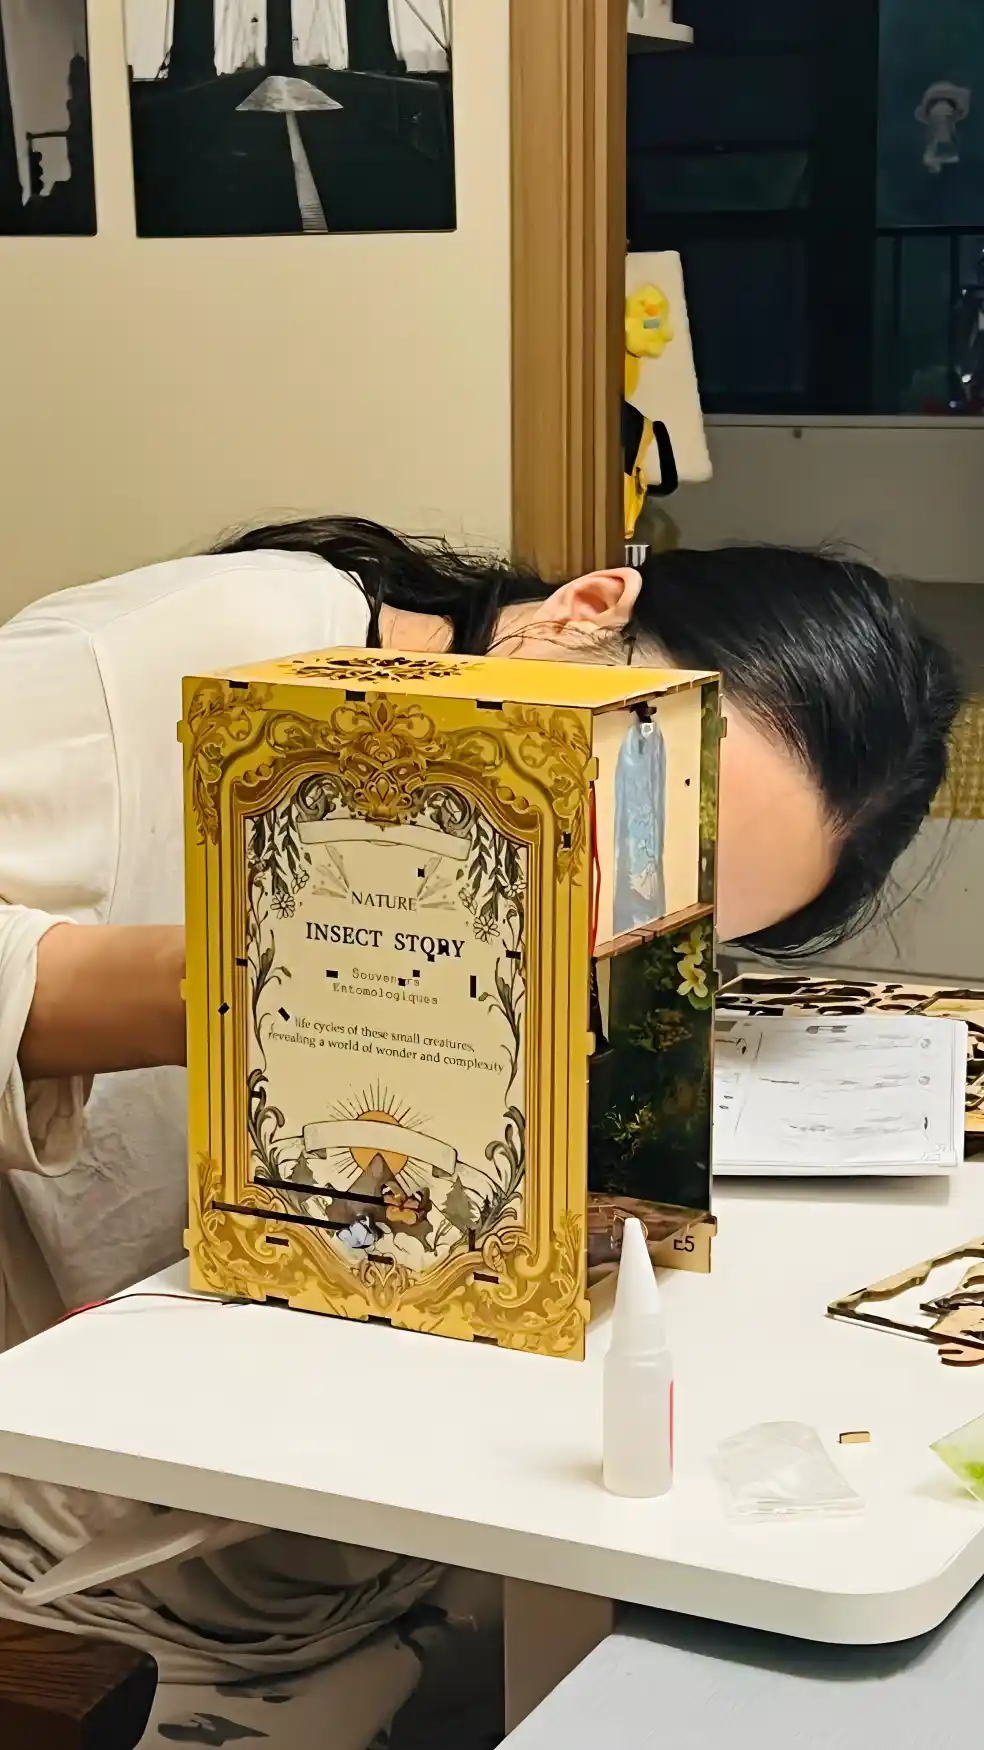
The foundation of your book nook is its frame—usually shaped like a narrow box that fits between books.
Cut your wooden panels (or use pre-cut pieces from a kit).
Assemble the base and walls using glue.
Make sure the structure is sturdy and square—use a ruler to check angles.
Leave an opening at the front (and sometimes the back) to allow visibility.

💡 Beginner kits often include clip-on or slot-together designs that eliminate cutting errors.
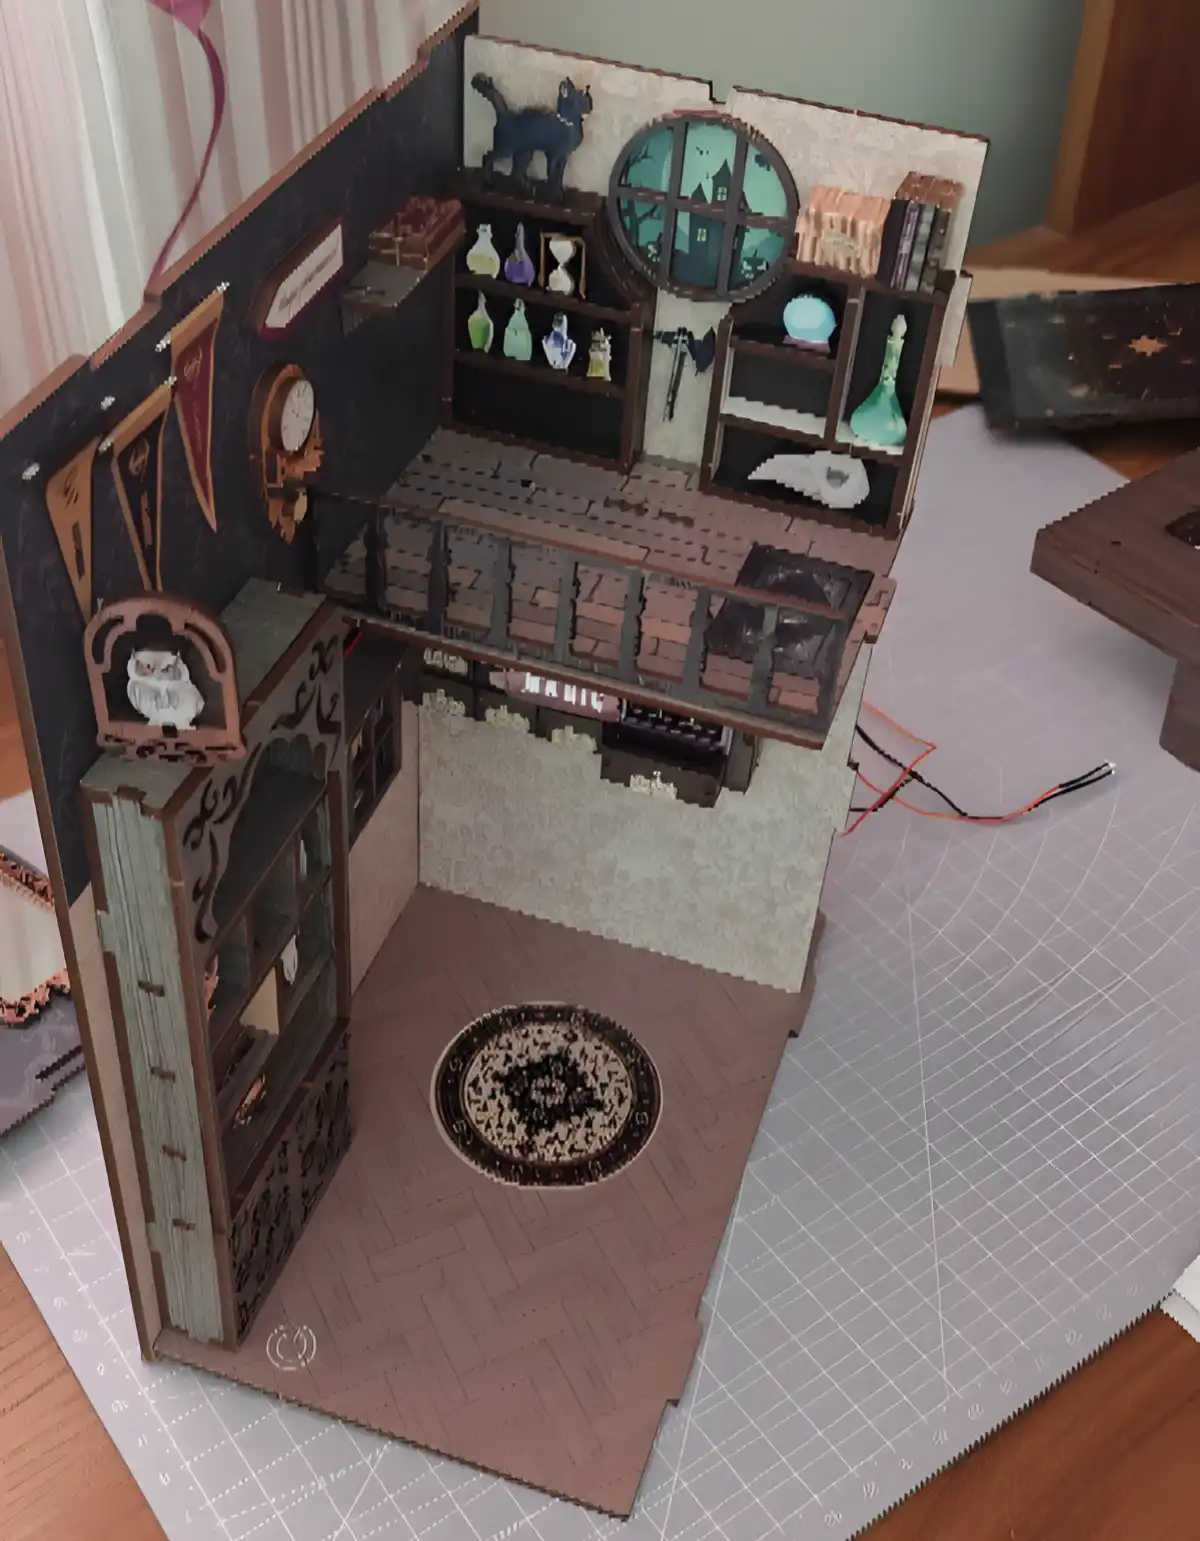
Now it’s time to build the “architecture” inside your book nook. Depending on your theme, this might include:
Stairs or bridges in fantasy scenes.
Shelves and workbenches in a workshop.
Street flooring for an urban alleyway.
Tips for beginners:
Work in layers, from back to front.
Test-fit everything before gluing permanently.
Leave space for wiring if you plan to add lights.
Here’s where your book nook starts to come alive.
Prime the walls with white or black paint for a clean base.
Choose a color palette that matches your theme (earthy tones for rustic, bright colors for fantasy).
Add details like brick textures, wood grain, or wallpaper.
Decorate with miniature furniture, plants, and figurines.
👉 For inspiration, check out accessories in our DIY Accessories collection. Small items like books, vases, and lamps add huge personality.
Lighting transforms your book nook from a simple model into a magical world.
Options for lighting:
LED strips (easy to install, bright).
Fairy lights (soft, whimsical).
Touch lights (easy for beginners).
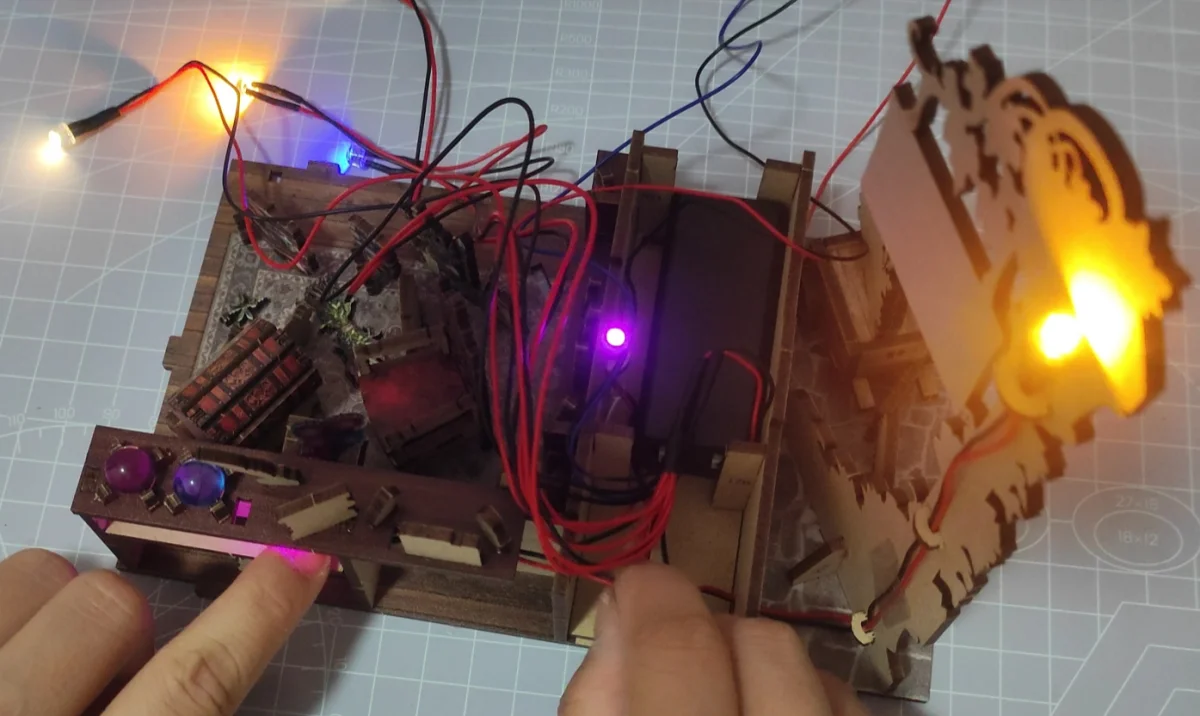
Installation tips:
Hide wires behind panels or under flooring.
Test the lights before sealing your nook.
Use warm-toned lights for a cozy atmosphere, cool-toned for sci-fi vibes.
👉 You can find lighting add-ons in our DIY tools and accessories section.
Now comes the most rewarding part—adding the finishing touches.
Scatter mini-books on a table.
Hang a tiny framed picture on the wall.
Place plants, rugs, or figurines for extra detail.
Once you’re happy with the look, spray a light coat of varnish to protect the paint.
Your book nook is now ready to slide between novels and wow every visitor who notices it.
If you’re new to miniature building, keep it simple. Here are a few beginner-friendly projects:
Whimsical Library Book Nook – simple shelves, books, and warm lights.
Fairy Garden Nook – moss, tiny mushrooms, and a bench.
Holiday Street Corner – a festive Christmas or Halloween scene.
👉 Explore beginner DIY book nook kits for easy starter projects.
Even seasoned crafters make mistakes. Here are some to watch out for:
Using the wrong glue → Always use craft or wood glue, not hot glue (it can warp panels).
Skipping the dry fit → Test parts before gluing to avoid misalignment.
Over-decorating → Less is more; leave space to highlight key details.
Neglecting lighting → A book nook without lights often feels flat and unfinished.
You can always start from scratch, but DIY kits make the process smoother and more enjoyable. At Rofuntime, we specialize in book nook kits that come with everything you need:
Pre-cut panels
Step-by-step instructions
Lighting sets
Detailed miniatures
👉 Browse our full Book Nooks collection or check out some favorites:
Q: How long does it take to build a book nook?
A: Beginner kits usually take 6–12 hours. More complex designs can take several days.
Q: Do I need woodworking skills?
A: Not at all! Kits are beginner-friendly. If you’re building from scratch, basic craft skills are enough.
Q: What’s the best kit for beginners?
A: Look for kits labeled “Beginner” that feature simple layouts and fewer pieces—like our Halloween Book Nook.
Building your first book nook is more than a craft—it’s a journey into storytelling, imagination, and creativity. With a bit of patience and the right tools, you can create a miniature world that adds magic to your bookshelf and sparks conversations every time someone spots it.
Ready to begin? Start with a beginner-friendly DIY book nook kit and bring your stories to life—one tiny detail at a time.
📖 New to Book Nooks? Start with our Ultimate DIY Book Nook Guide to learn the basics.
👉 Want to build your first project? Explore the Top 10 DIY Book Nook Kits for Beginners.
🎨 Looking for more bookshelf decor ideas? Don’t miss our Bookshelf Decorating Guide.
🛒 Ready to create your own fantasy world? Browse the Fantasy Book Nooks Collection.
🎁 Searching for the perfect gift? Discover our Book Nook Gift Ideas.
Book Nook Customization Ideas — Transform Your Wisdom Rings Bookstore Into a World of Your Own
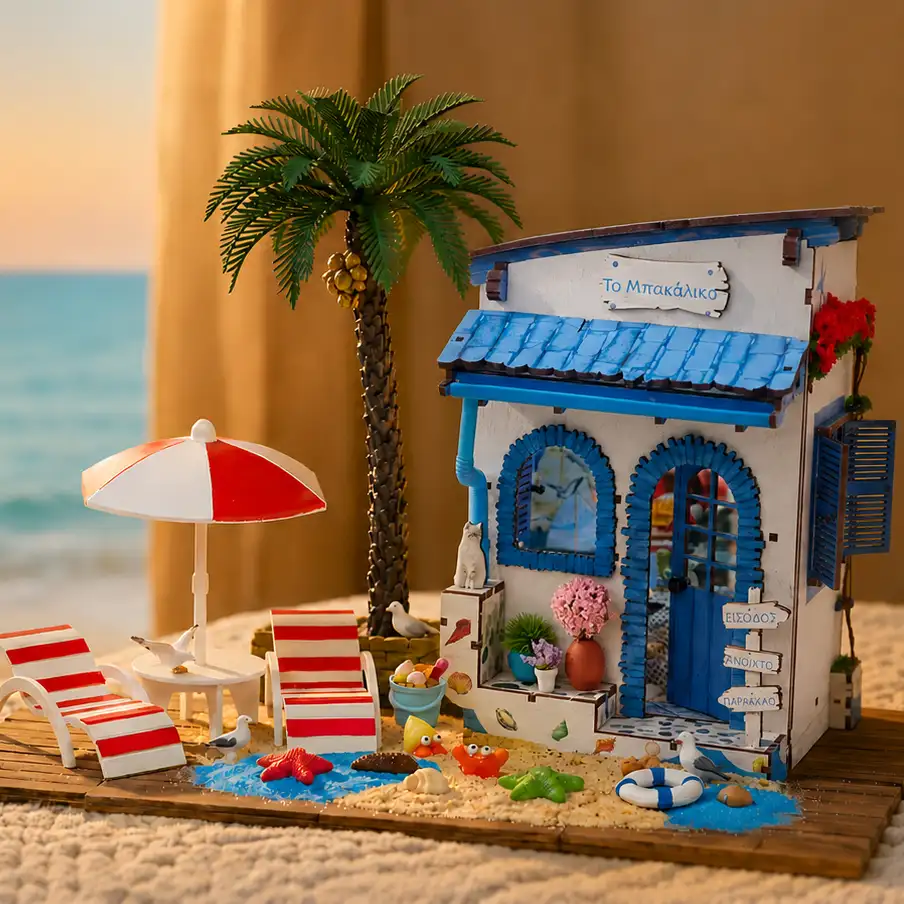
Transform the Beach Corner DIY Book Nook Kit into a Complete Coastal Miniature World